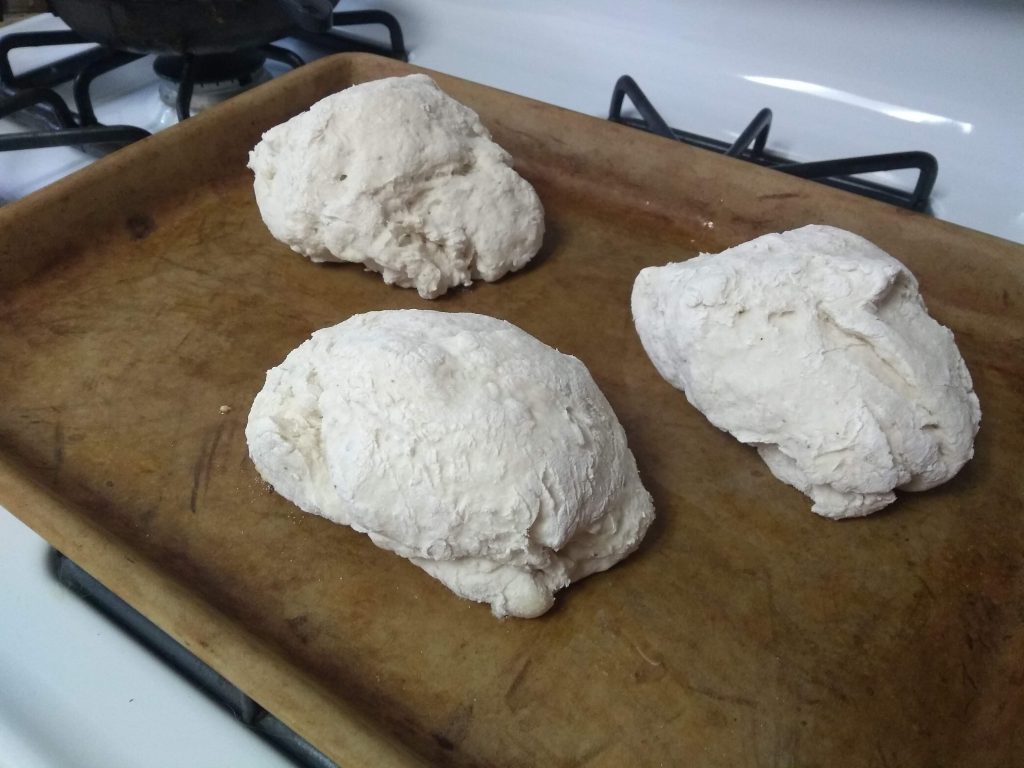
Yes. It’s finally time.
A cassava flour bread that is… light…fluffy… crusted…moist.
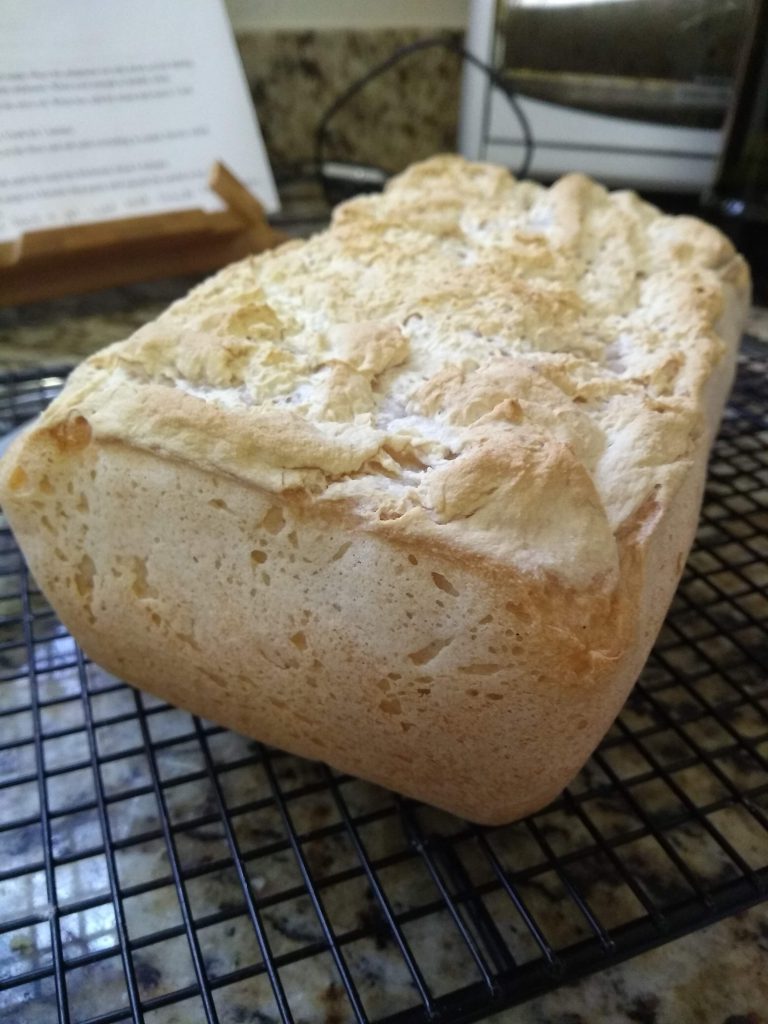
Unlike the paleo-cassava bread, this really is like “real” bread. I remember “real” bread. I miss real bread. I really had to get to know my ingredeints to get this to come to fruition. I had to be patient. I had to keep trying. Pretty much since COVID-19 started, I’ve been doing a loaf every 1-2 weeks. Depends on the previous loaf went as to when I did the next. I’ve tried to keep the ingredients simple, but in the end, I did indeed have to add Xantham gum. I could get it to raise without, but it wouldn’t hold form. it collapsed.
After seeing how dense cassava flour can be, I tossed every leavening agent, except egg, in there – yeast, apple cider vinegar, baking powder. And it works.
I tend to use bulk yeast, cuz its cost effective when you #playwithyourfood a lot, so you’ll note I used a little bit more than 1 packet (2.25 tsp) for this recipe – 2.5 teaspoons. Partly cuz my fav measuring spoon is Pampered Chef’s measure all, and I only get 1 out to make this loaf. It does 2.5 tsp, but not 2.25. Fewer dishes to clean. It’s the small things.
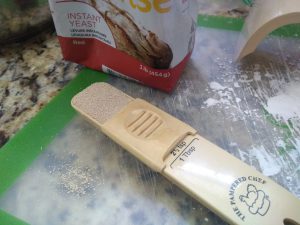
I started out using the water temp that most bread recipes recommend (100-110F), and then I started reading up on yeast. It actually recommends 120-130F. I started having more luck when I upped the temps of my liquids. I’ve also only used rapid rise or instant yeast. As finicky as cassava flour is, I’m not sure I’d try regular yeast. (Note: Pampered Chef doesn’t make this thermometer anymore).
Recipe starts out at 2c flour blend – and you’ll need to add more than that for sure, but I’ve found it really varies based on my accuracy of liquid measure. I prep 3 c, and end up using about 2.5. Then I’ve got flour blend for other stuff. I’ve a friend that is corn sensitive, so my blend included arrowroot flour. Feel free to experiment with others, just keep the ratio 50/50 w cassava. Take it from me that other ratios lead to sadness, madness, and the compost bin.
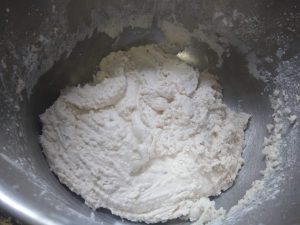
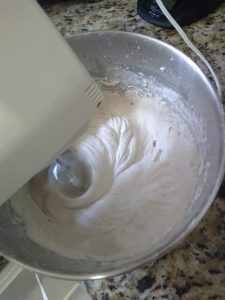
Without the xanthan gum, the dough would seize, and with too much, it clogs up the mixer. I’d have to add water (or tea, whatever was handy – and i actually really like the tea flavor – FYI). Then I’d have to go back & forth. Xanthan took away the seizing, but too much, in combination with the already doughy nature, made the loaf fit only for the compost bin. When you get it right, it pulls away from the edges. It’s smoooooooth.
The hardest part of all this was the learning that I had to leave it alone overnight. A friend commented that you’re supposed to eat bread fresh out of the oven. Not this bread. I’m serious. Leave it. Let it cool, then I put mine in the frig. I’ve got 5 cats. If you leave it on the counter, let me know if it still sets up right. This past week, I’ve made 2 loaves – the one I tormented you with on a previous blog, and then one Friday.
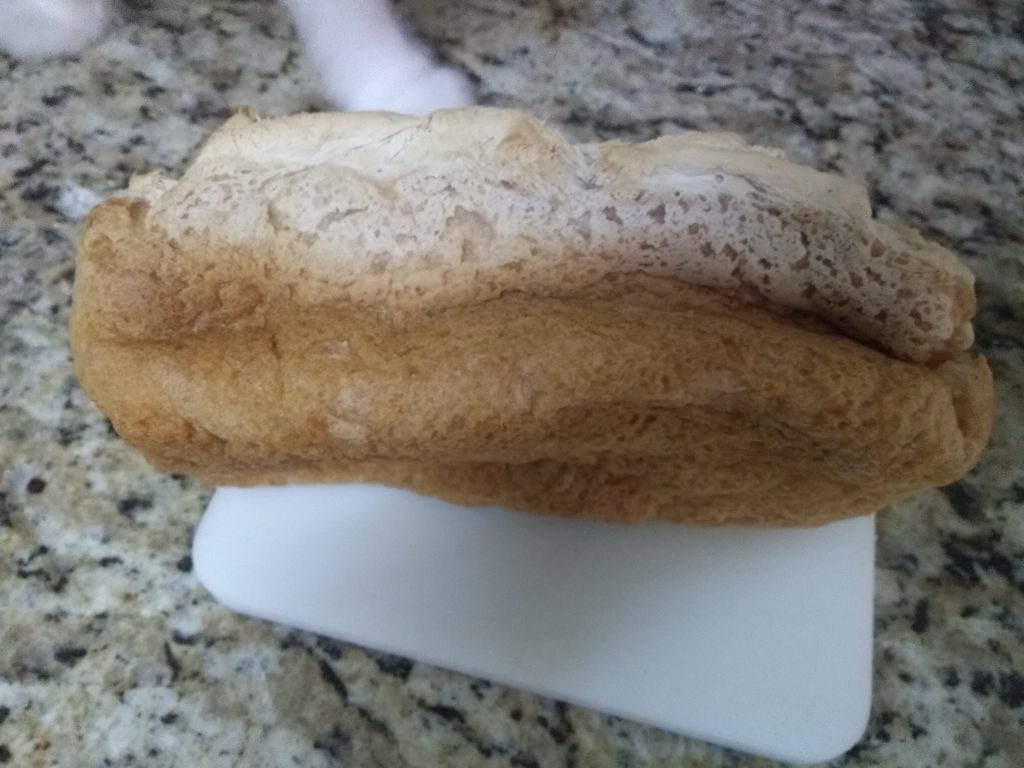
Loaf 3972: soooo close
What a great experiment this has been. So this loaf had the least collapse, and it was along the sides instead of the top. I count that as success unto itself!


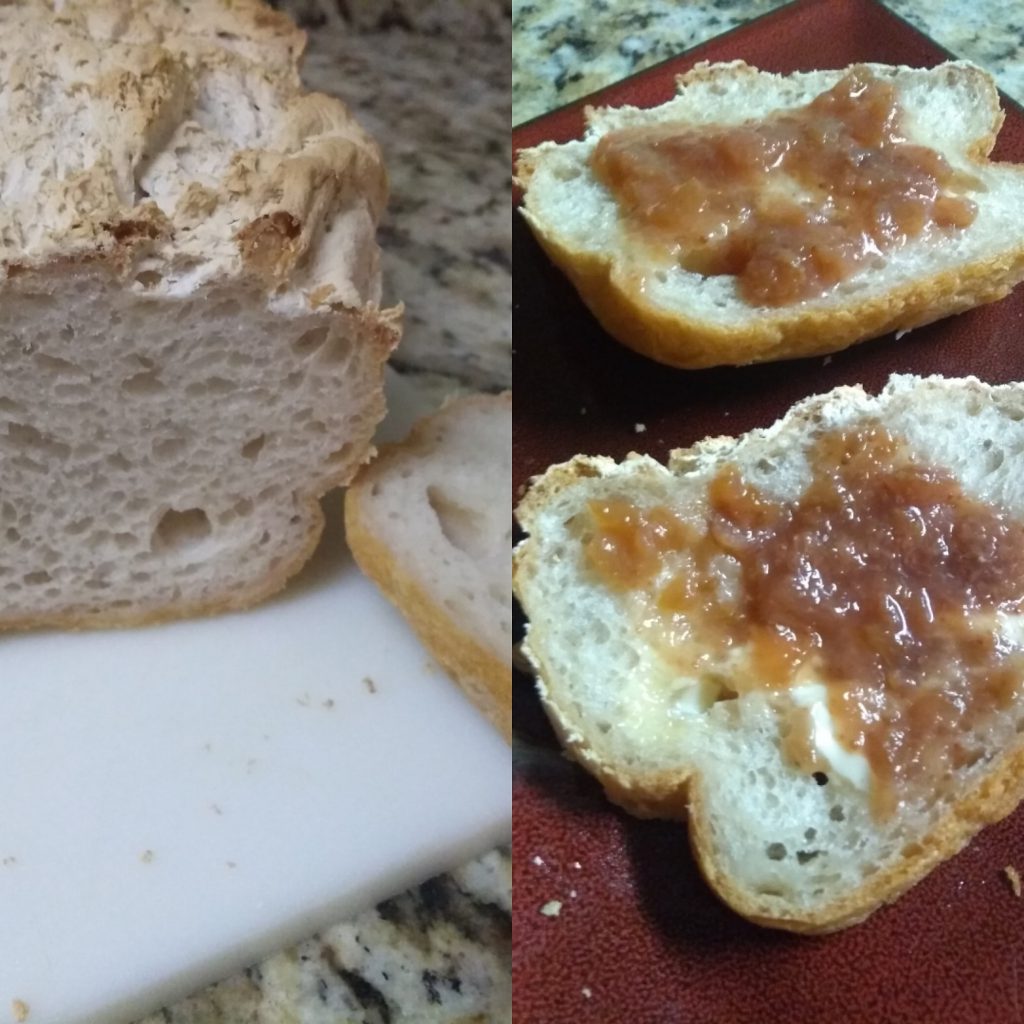
Loaf 3973: I did it!
This loaf – exactly the same. But baked 10 min longer. No collapse at all. I almost cried. I admit, I nibbled the edge of this one to see what the inside was like – yes, it still needed to rest. It may look like that top collapsed in a little, but that was my error, not the bread. I set the loaf in the garage to rise, and had to peel the ‘cover’ off to go in the oven. It pulled a little dough off, and i tried to put it back on. Learn from my mistake. Lightly grease the top, so it comes free easily.
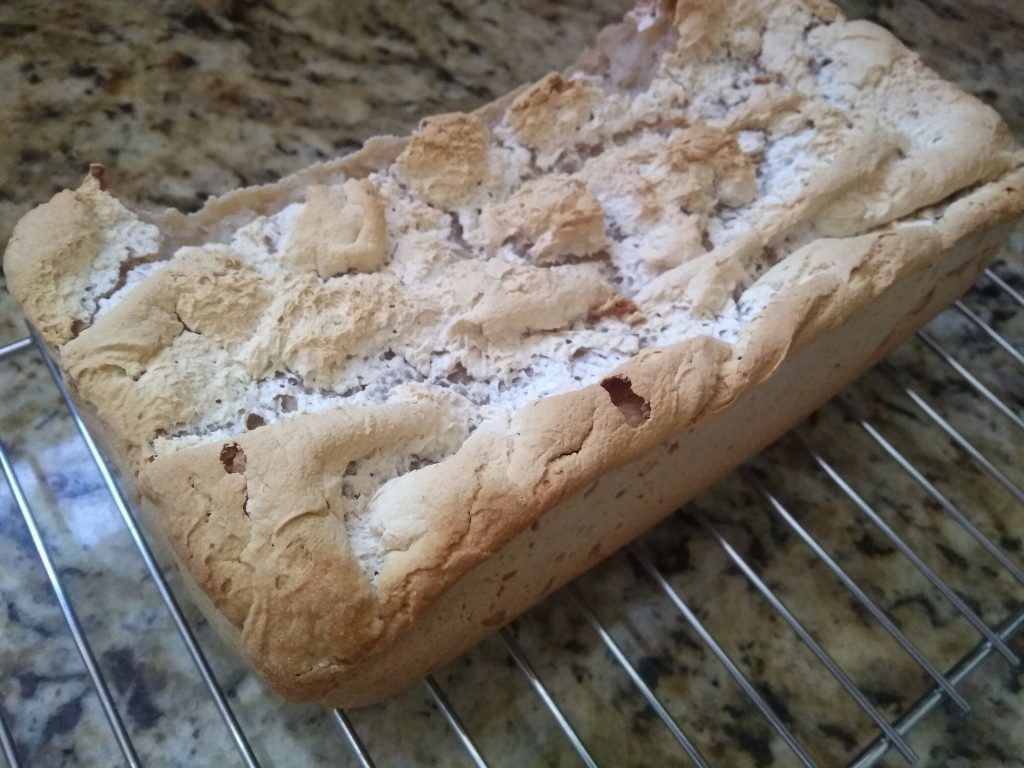
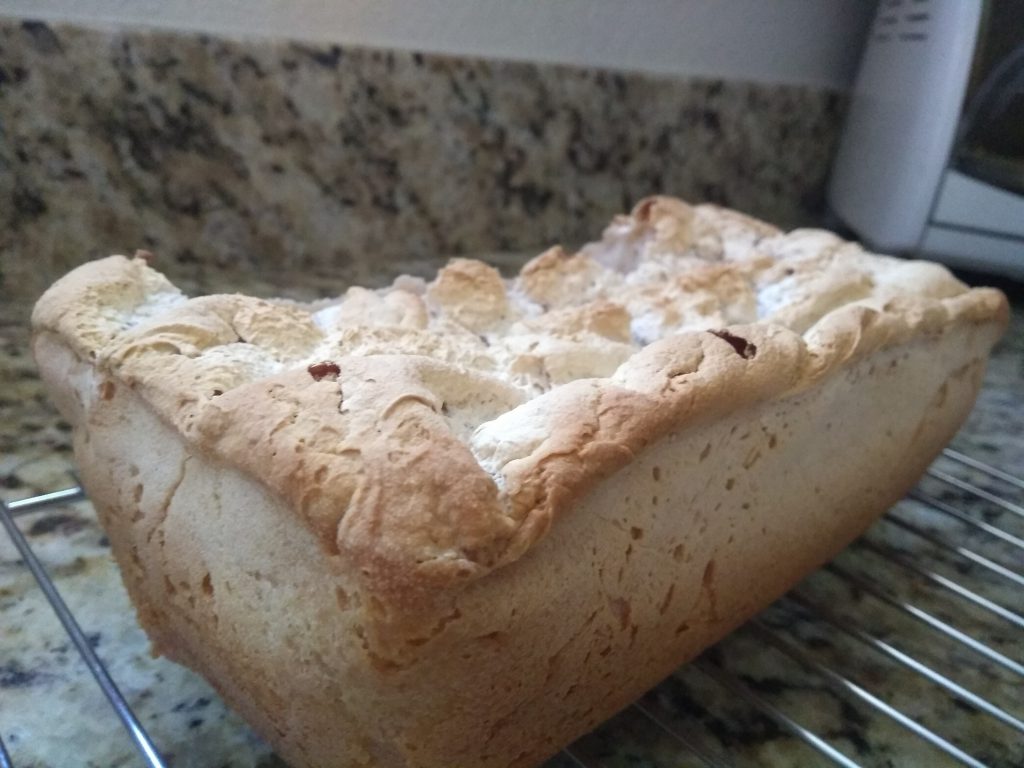
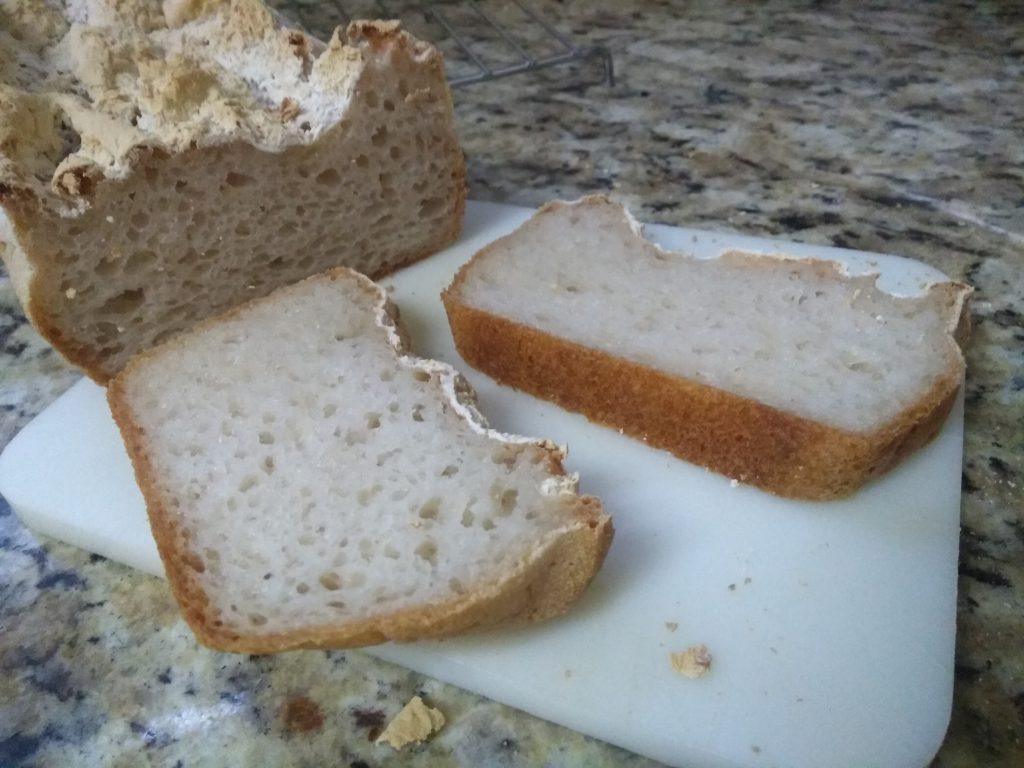
Oh the crust!
And this loaf has a thick, french bread type crust. This comes from 1) stone loaf pan, and 2) preheating the oven to 425, then dropping it to 375 when the bread goes in.
I’ve mentioned the inside is a moist – its on the far FAR edge of doughy, but I think that’s how its gonna be with this loaf. I’m gonna keep practicing, and if you find any useful tips, please share! I do recommend, like all good gluten free recipes, heating before eating. If you’re gonna toast – I’d actually do it 2-3 times, but I know this is totally a personal preference.
Cassava flour bread recipe
1-2/3c water, 120-130 degrees F
1.5 c each Cassava flour & arrowroot flour
1 package rapid rise or instant yeast (if using bulk, 2.5 tsp)
1T + 1.5 tsp sugar of choice
1.5 tsp salt
1 T baking powder
1 tsp Xanthan gum
1 tsp apple cider vinegar
1 T + 1.5 tsp shortening or butter
Blend the 2 flours thoroughly, then put 2 c of the blend in your mixing bowl. Keep the remaining amount handy. Add all other ingredients, with water being last. With mixer set on low speed, blend for 30s or until all is moist & even consistency. Gradually add in, a heaping spoon at a time, the additional flour, until it is pulling away from the sides & up the beaters a little. Mix on high for 2 minutes, scraping sides.
Scrape into loaf pan, and set aside to rise in warm, draft free place. Here in Texas summer, I put it in my garage. you can also turn your oven on to 350F for 3 min, turn off, then place loaf pan inside to rise… if it’s not Texas summer. Keep an eye on the bread, and start peeking around 30 min. When it gets to the top of the loaf pan, preheat the oven to 425 F. Note: If bread is rising in the oven, please remove it first. When oven beeps preheated, place loaf pan in, and turn temp down to 375 F. Bake for 70 min. Bread should be pulling away from the sides.
You will need to play with your baking time based on the pan you use & your oven, and I suggest you think about OVERBAKING it slightly (hence 70 vs customary 60 min), due to the nature of cassava flour.
When done, remove from loaf pan and allow to cool in its side. Rotate sides on occasion. Let bread rest overnight, and enjoy your first slice with breakfast in the morning!
